
Markdown Authoring & Formatting Guide
Adding or editing documents in EpoCanvas Docs is easy. All body content is written in standard Markdown syntax; if you know how to write Markdown, you can immediately take part in writing and maintaining the documentation.
This page is the complete list of format support site-wide: Section 3 lists the base Markdown formats one by one, and Section 4 lists the extended syntax this site additionally supports. Every entry pairs “how to write it” with “what it looks like when rendered” — what you see on this page is the real rendered result.
1. Where Do Document Files Go?
All document files are stored in the project’s src/content/docs/ directory:
src/content/docs/├── index.mdx # The site's landing home page├── canvas/ # Core documentation chapters (Simplified Chinese, the default language)│ ├── index.md # Product overview│ ├── deployment.md # Quickstart│ ├── layout.md # Page layout│ ├── ... # Other documents└── en/ ja/ ... # Translations in the other 9 languages; the directory structure mirrors the Chinese version exactly- Filename rules: use lowercase English letters and hyphens (for example
quickstart-guide.md); do not use Chinese characters or spaces. The filename determines the access path:canvas/deployment.mdmaps to/canvas/deployment/. - File extension: a plain
.mdfile is enough in most cases; if you need to embed interactive components in an article (such as the card grid on the home page), use the.mdxformat. - Register in the sidebar: after creating a new file, you must register it in the
sidebararray ofastro.config.mjs; otherwise it will not appear in the left-side TOC. - Multilingual translations: translations for other languages go under
src/content/docs/<language>/with a subdirectory structure identical to the Chinese version (for example,en/canvas/deployment.mdis the English quickstart); pages that do not have a translation yet automatically fall back to Chinese.
2. How to Write the Header Metadata (Frontmatter)
At the top of every Markdown document, there must be a YAML metadata block wrapped in three dashes ---:
---title: Quickstart (Up and Running in 3 Minutes)description: EpoCanvas Docs local environment setup, dependency installation, and dev server startup guide.---Field Reference
| Field | Required? | What it does |
|---|---|---|
title | Required | The article’s main title. Rendered as the large heading at the top of the page and used as the browser tab title. |
description | Recommended | A short summary of the article. Used as the description text in browser search results and social media share cards. |
template | Home page only | When set to splash, uses the landing page template without a sidebar. |
3. Base Markdown Formats at a Glance
This site renders standard Markdown with GFM extensions, and all the formats below are supported. Start with the overview, then go through each entry’s syntax and rendered result:
| Format | Quick syntax | Purpose |
|---|---|---|
| Headings | ## Section heading | Organizes chapter structure; automatically included in the right-side on-page TOC |
| Paragraphs and line breaks | Blank line separates paragraphs | The basic unit of body text |
| Bold / italic / strikethrough | **bold** *italic* ~~strikethrough~~ | Emphasizes key text |
| Inline code | `command` | Marks commands, filenames, keyboard shortcuts |
| Keyboard keys | <kbd>Ctrl</kbd> | Keycap-style key markers |
| Unordered / ordered lists | - item / 1. item | Lists parallel or step-by-step content |
| Task list | - [x] done | A checklist with checkboxes |
| Blockquote | > quoted text | Quotes source text or adds side notes |
| Code block | Wrapped in triple backticks | Multi-line code with highlighting and a copy button |
| Table | Pipes separate columns | Parameter comparisons, data listings |
| Link | [text](address) | Jumps to another page on the site or an external website |
| Image |  | Inserts screenshots and architecture diagrams |
| Horizontal rule | --- | Separates major sections |
3.1 Heading Levels
Do not write a level-1 heading (#) in the body — the Frontmatter title is already rendered as the page’s large heading, and another # in the body would give the page two large headings. Sections start from the level-2 heading (##):
## Level-2 heading (chapter)
### Level-3 heading (section)
Rendered result: the page you are reading is a ready-made example — “3. Base Markdown Formats at a Glance” is a level-2 heading and this section, “3.1 Heading Levels”, is a level-3 heading; both already appear in the right-side “On this page” TOC. Level-4 headings (####) only get body styling and no longer enter the TOC, which suits small subsections you do not want listed.
3.2 Paragraphs and Line Breaks
Markdown separates paragraphs with blank lines — the place where beginners most often slip up:
This is the first paragraph. Only one Enter was pressedbetween the two sentences,so they stay in the same paragraph after rendering.
This line is separated from the text above by a blank line,so it becomes a new paragraph after rendering.
This line ends with a backslash\so the line below it really starts on a new line.
Rendered result:
This is the first paragraph. Only one Enter was pressed between the two sentences, so they stay in the same paragraph after rendering.
This line is separated from the text above by a blank line, so it becomes a new paragraph after rendering.
This line ends with a backslash
so the line below it really starts on a new line.
Rules in short: a single Enter = a new line in the source, but the paragraph does not split; leave a blank line to start a new paragraph; to force a line break within a paragraph, use a trailing backslash or two trailing spaces.
3.3 Text Emphasis and Inline Styles
This is **bold**, this is *italic*, this is ***bold italic***, this is ~~strikethrough~~.
Use inline code to mark commands and filenames: run `pnpm run dev` to start the dev server.
Keyboard keys use HTML tags: <kbd>Ctrl</kbd> + <kbd>K</kbd> opens the site-wide search.
Rendered result:
This is bold, this is italic, this is bold italic, this is strikethrough.
Use inline code to mark commands and filenames: run pnpm run dev to start the dev server.
Keyboard keys use HTML tags: Ctrl + K opens the site-wide search.
3.4 Lists and Task Lists
Unordered list, sub-items indented two spaces:- Core feature one- Core feature two  - Two's sub-feature  - Two's other sub-feature
Ordered list:1. Step one: install Node.js2. Step two: clone the repository3. Step three: start the dev server
Task list:- [x] Syntax highlighting supported- [x] One-click copy supported- [ ] To-do item
Rendered result:
Unordered list, sub-items indented two spaces:
- Core feature one
- Core feature two
- Two’s sub-feature
- Two’s other sub-feature
Ordered list:
- Step one: install Node.js
- Step two: clone the repository
- Step three: start the dev server
Task list:
- Syntax highlighting supported
- One-click copy supported
- To-do item
3.5 Blockquotes
> This is a quote. It suits source excerpts, background notes, or side notes.> Write consecutive lines inside the same quote block.
> > Quotes can nest quotes inside them.
> A quote can also contain a list:>> - Item one> - Item two
Rendered result:
This is a quote. It suits source excerpts, background notes, or side notes. Write consecutive lines inside the same quote block.
Quotes can nest quotes inside them.
A quote can also contain a list:
- Item one
- Item two
3.6 Code Blocks
Wrap the code in triple backticks and add the language after the first line’s backticks to get syntax highlighting; every code block comes with a one-click copy button on its right:
```jsexport function formatBytes(bytes) { return `${(bytes / 1024).toFixed(1)} KB`;}```Rendered result:
export function formatBytes(bytes) { return `${(bytes / 1024).toFixed(1)} KB`;}The language tag decides the highlighting scheme; common ones such as js, ts, bash, json, yaml, html, css, and python are all supported. Terminal languages such as bash render with a terminal-style dark border:
pnpm run buildFor advanced code block usage such as filename titles and highlighting specific lines, see Section 4.2.
3.7 Tables
Colons in the dash row below the header control alignment (a colon on the left means left-aligned, colons on both sides mean centered, a colon on the right means right-aligned):
| Command | Argument | Notes || :--- | :---: | ---: || `astro dev` | `--host` | Left-aligned example || `astro build` | none | Centered example || `astro preview` | `--port` | Right-aligned example |Rendered result:
| Command | Argument | Notes |
|---|---|---|
astro dev | --host | Left-aligned example |
astro build | none | Centered example |
astro preview | --port | Right-aligned example |
3.8 Links
On-site link: [Quickstart](/canvas/deployment/)
External link: [Astro website](https://astro.build)
Anchor on this page: [Jump to the "Tables" section](#37-tables)
Autolink: <https://github.com/shijianus/epocanvas-docs>
Rendered result:
On-site link: Quickstart
External link: Astro website
Anchor on this page: Jump to the “Tables” section
Autolink: https://github.com/shijianus/epocanvas-docs
Writing conventions:
- On-site links use full paths that start and end with
/(such as/canvas/deployment/); do not write relative paths; - Anchors are the IDs generated from heading text — for an English heading, the anchor is the lowercased heading text (punctuation removed, spaces replaced with hyphens). Click the address in the browser’s address bar to copy the link with the anchor;
- Link text should clearly state the destination; do not write “click here”.
3.9 Images and Captions
Keep the image assets for documents in the public/images/canvas/ directory, and reference them with absolute paths starting with /:
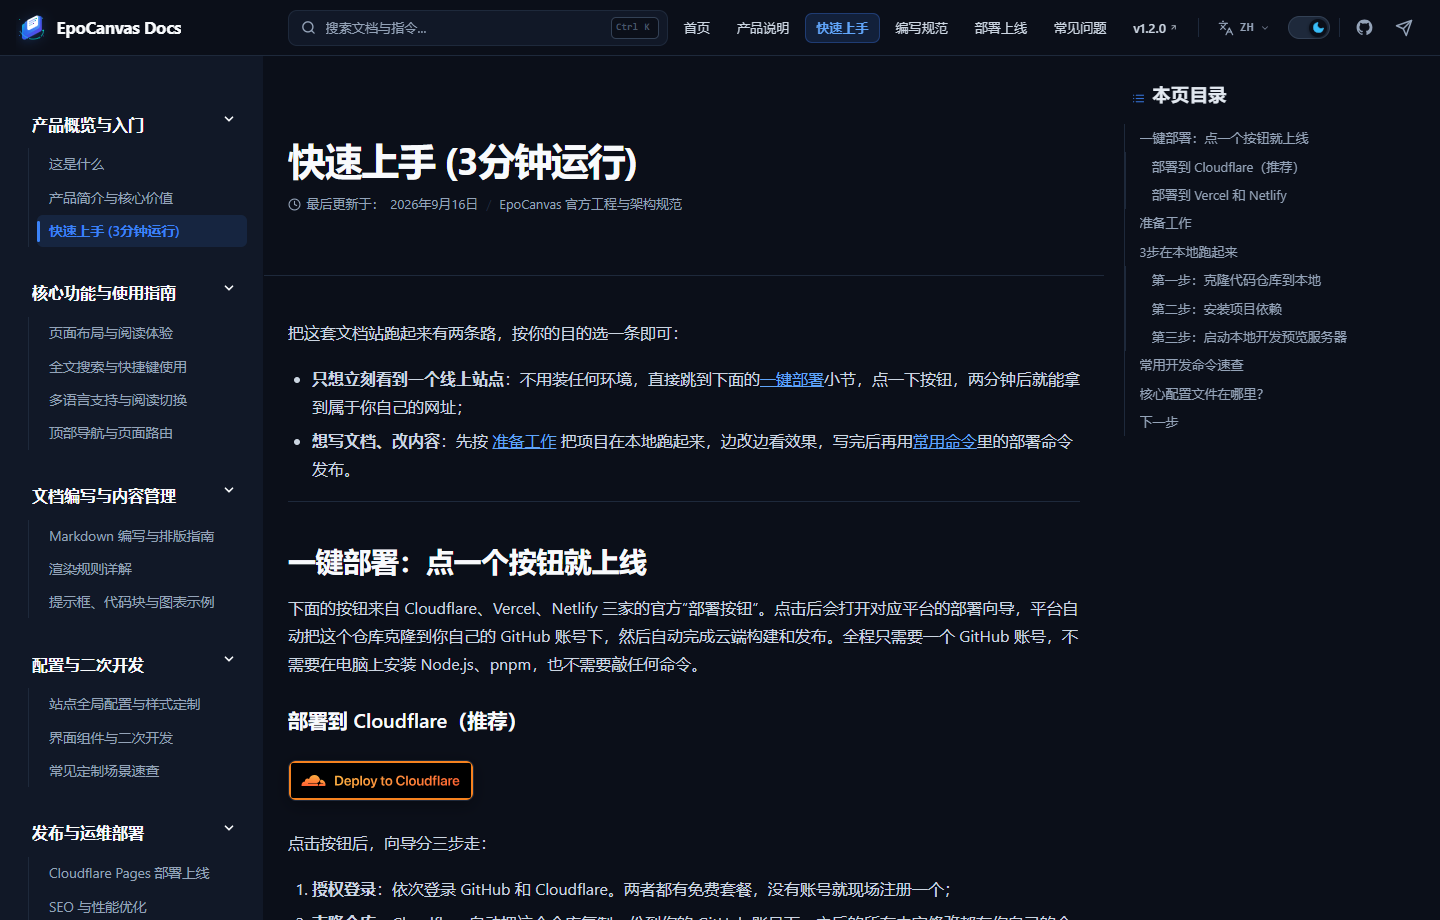
*Figure: Italic text on the line right below the image is displayed as the caption.*Rendered result:
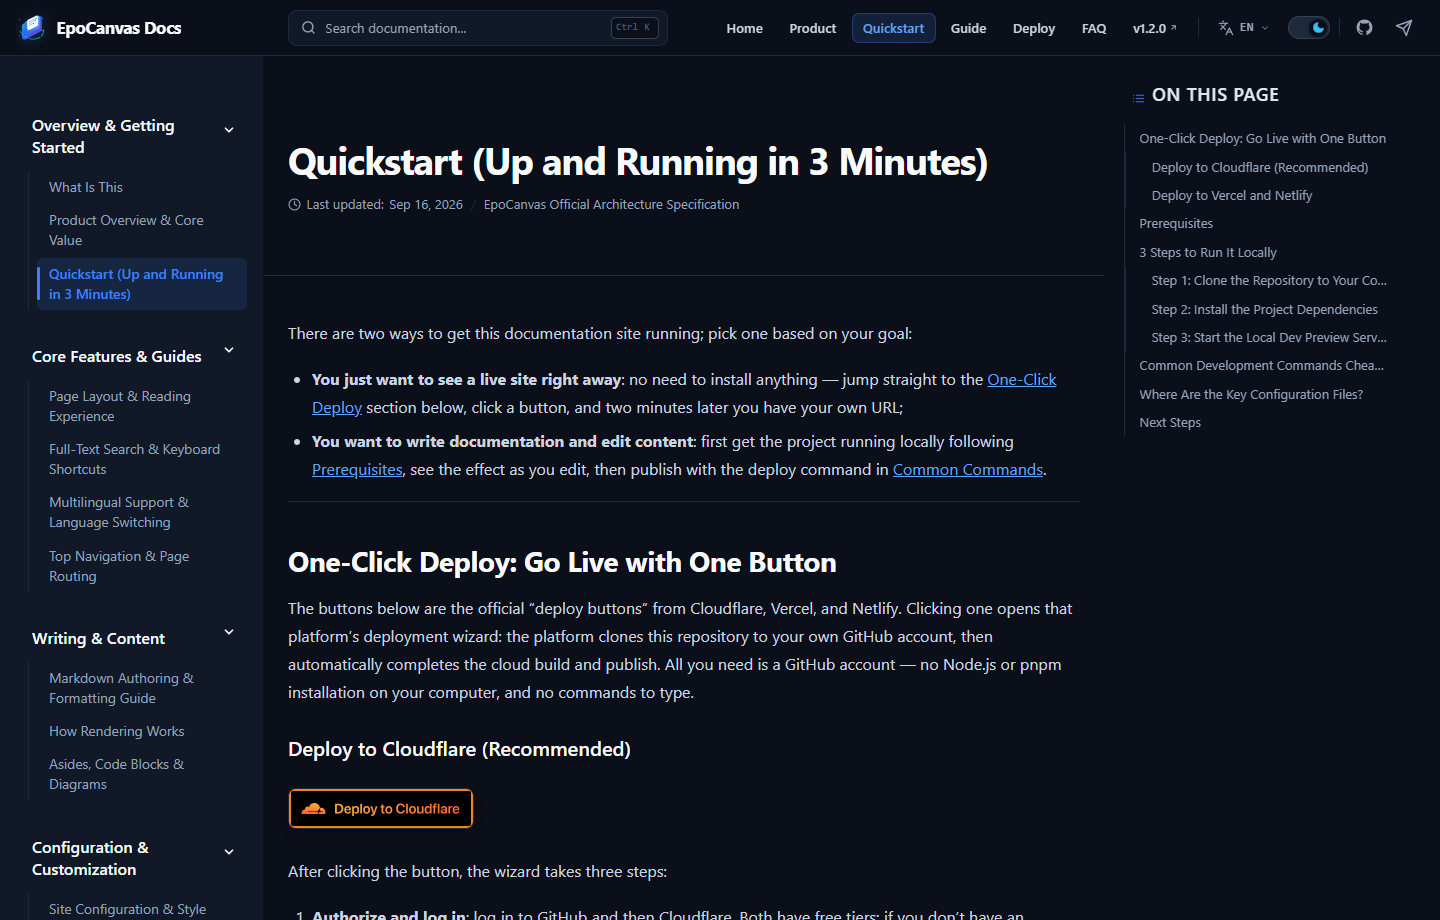
Figure: The actual rendering of the quickstart page, shown here only as a demo.
Image guidelines:
- Architecture and flow diagrams: save as
.svgvector graphics, which stay sharp when zoomed on phones and high-resolution screens. This site’s architecture diagrams are all inpublic/images/canvas/docs-*.svg. - UI screenshots: save as compressed
.pngfiles, about 1440 pixels wide; do not upload raw originals of tens of MB directly. - Description text is required: the text inside
![ ]renders as the image’s alternative text; describe the image content carefully and never leave it empty.
After inserting an image, always check the rendered result in the browser and confirm the path is correct and the image displays properly before committing.
3.10 Horizontal Rules
Three or more hyphens alone on a line render as a horizontal rule, used to separate major sections:
The content above ends here.
---
A new topic starts below.
Rendered result:
The content above ends here.
A new topic starts below.
4. Extended Formats: Site-Enhanced Syntax
The formats below are extended syntax this site supports on top of standard Markdown, provided by the rendering engines (Starlight asides and Expressive Code).
4.1 Four Colored Asides
Asides use the triple-colon syntax: they start with :::type and end with ::: on its own line. There are four types, each with its own color and icon:
Add square brackets after the type to customize the title:
:::tip[Faster Installation]Installing dependencies with pnpm is much faster than npm:
```bashnpm install -g pnpm```:::
Rendered result:
Inside an aside you can keep using lists, code blocks, tables, and any other formatting; for more examples see Asides, Code Blocks & Diagrams.
4.2 Code Block Filename Titles and Line Highlighting
Add title="file path" on the first line of the code fence to show a title bar, and use {line numbers} to highlight key lines; separate multiple line numbers with commas:
```typescript title="src/config/site.ts" {2,4}export const siteConfig = { name: 'EpoCanvas Docs', // ← highlighted line version: '1.0.0', locale: 'zh-CN', // ← highlighted line};```Rendered result:
export const siteConfig = { name: 'EpoCanvas Docs', version: '1.0.0', locale: 'zh-CN',};4.3 diff Change Comparison
Use the diff language to show configuration changes: lines starting with - render as removals and lines starting with + render as additions:
```diff export default defineConfig({- site: 'http://localhost:3000',+ site: 'https://docs.epocanvas.com', });```Rendered result:
export default defineConfig({ site: 'http://localhost:3000', site: 'https://docs.epocanvas.com',});4.4 Footnotes
To mark a source or add a supplementary note, use the GFM footnote syntax:
The site-wide search index is generated by Pagefind at build time[^pf].
[^pf]: [Official Pagefind documentation](https://pagefind.app/) — a local search library for static sites.
Rendered result: a numbered superscript jump marker1 appears in the body text; clicking it smooth-scrolls to the corresponding footnote entry at the bottom of the page.
4.5 Unsupported and Error-Prone Syntax Quick Reference
The syntax below is common on other platforms but does not work or behaves unexpectedly on this site; avoid it when writing documents:
| Error-prone syntax | Actual behavior | Correct alternative |
|---|---|---|
```mermaid fence | Displays the source as a plain code block; no diagram is generated | Export an SVG from mermaid.live and insert it as an image |
> [!NOTE] GitHub alert syntax | Renders as a plain blockquote | Rewrite as :::note |
:::warning / :::important | Silently renders as a plain paragraph with no aside styling | Rewrite as :::caution |
Level-1 heading # in the body | The page gets two large headings | Remove the # and start the body from ## |
| Expecting a line break from a single Enter | The two lines merge into one | Use a blank line for a new paragraph, or add a trailing backslash |
5. Going Further
- Want to understand the full rendering pipeline from Markdown file to page and all the conventions? Read How Rendering Works.
- Want to see asides, code blocks, footnotes, and other syntax showcased together on a “live example page”? Read Asides, Code Blocks & Diagrams.
Footnotes
-
This is the footnote itself as rendered at the bottom of this page — no matter where in the text a footnote is written, its content is collected at the very bottom of the page. ↩