
Quickstart (Up and Running in 3 Minutes)
There are two ways to get this documentation site running; pick one based on your goal:
- You just want to see a live site right away: no need to install anything — jump straight to the One-Click Deploy section below, click a button, and two minutes later you have your own URL;
- You want to write documentation and edit content: first get the project running locally following Prerequisites, see the effect as you edit, then publish with the deploy command in Common Commands.
One-Click Deploy: Go Live with One Button
The buttons below are the official “deploy buttons” from Cloudflare, Vercel, and Netlify. Clicking one opens that platform’s deployment wizard: the platform clones this repository to your own GitHub account, then automatically completes the cloud build and publish. All you need is a GitHub account — no Node.js or pnpm installation on your computer, and no commands to type.
Deploy to Cloudflare (Recommended)

After clicking the button, the wizard takes three steps:
- Authorize and log in: log in to GitHub and then Cloudflare. Both have free tiers; if you don’t have an account, register one on the spot;
- Clone the repository: Cloudflare automatically copies this repository to your GitHub account; all later content changes happen in your own repository;
- Confirm the configuration and deploy: the wizard ends with a configuration page; verify the settings against the table below, then click Deploy:
| Setting | What the wizard shows by default | What to do |
|---|---|---|
| Repository name / project name | Pre-filled with epocanvas-docs | Keep the default |
| Build command | Auto-detected as this repository’s pnpm run build | Keep the default |
| Deploy command | Pre-filled with pnpm run deploy | Change it to npx wrangler deploy |
On the first deployment, Cloudflare detects that the repository has no Workers configuration file, recognizes it as an Astro static site, and opens an auto-generated configuration Pull Request (PR) against your repository — just merge it; from then on, every push is built and published automatically. From clicking the button to seeing the URL takes two to three minutes if all goes well.
After deployment, Cloudflare assigns a public address of the form https://epocanvas-docs.<your-subdomain>.workers.dev with an HTTPS certificate included. To use your own domain, go to Workers & Pages → your project → Settings → Domains & Routes in the dashboard and add it there. Both addresses of the live instance are open to comparison: the default Pages domain https://epocanvas-docs.pages.dev and the custom domain https://docs.epocanvas.com.
Deploy to Vercel and Netlify
If you prefer other platforms, the two buttons below do the same thing; both platforms auto-detect Astro projects, so you don’t need to fill in any build configuration manually:


- Vercel: click the button → authorize GitHub → keep the default options and click Deploy. You get an
epocanvas-docs.vercel.appdomain; free on the personal Hobby plan; - Netlify: click the button → connect GitHub → the platform clones the repository and completes the first build automatically. You get an
epocanvas-docs.netlify.appdomain; the free tier is enough.
Prerequisites
One-click deployment is good for “getting the site out there first”, but writing and editing documentation ultimately happens locally. If you plan to write content, first make sure your computer has the following basic development environment:
| Tool | Recommended version | Check command | Notes |
|---|---|---|---|
| Node.js | >= 18.20.8 (20.3+ or 22 LTS recommended) | node -v | Base environment for running JavaScript and building static pages |
| pnpm | >= 9 (10 in CI environments) | pnpm -v | The recommended package manager; installs quickly and saves disk space |
| Git | Latest stable version | git --version | Used to pull code and manage versions |
3 Steps to Run It Locally
Step 1: Clone the Repository to Your Computer
Open a terminal and run the following commands to clone the project code and enter the project folder:
git clone https://github.com/shijianus/epocanvas-docs.gitcd epocanvas-docsStep 2: Install the Project Dependencies
Run the install command in the project root:
pnpm installpnpm automatically downloads the required front-end dependencies according to pnpm-lock.yaml, including Astro, Starlight, and the local image processing module; it usually finishes within tens of seconds. When the installation ends, the terminal shows the total time:
Done in 1m 3.2s using pnpm v9.15.9Step 3: Start the Local Dev Preview Server
Once the dependencies are installed, run the start command:
pnpm run devThe terminal prints something like the following (the first start pre-bundles dependencies and takes a few seconds):
astro  v5.18.2  ready in 5152 ms
┃ Local    http://localhost:4321/┃ Network  use --host to expose
watching for file changes...
Open a browser and visit http://localhost:4321 to see the complete documentation site. After you edit any .md file and save, the browser page refreshes automatically to show the latest content.
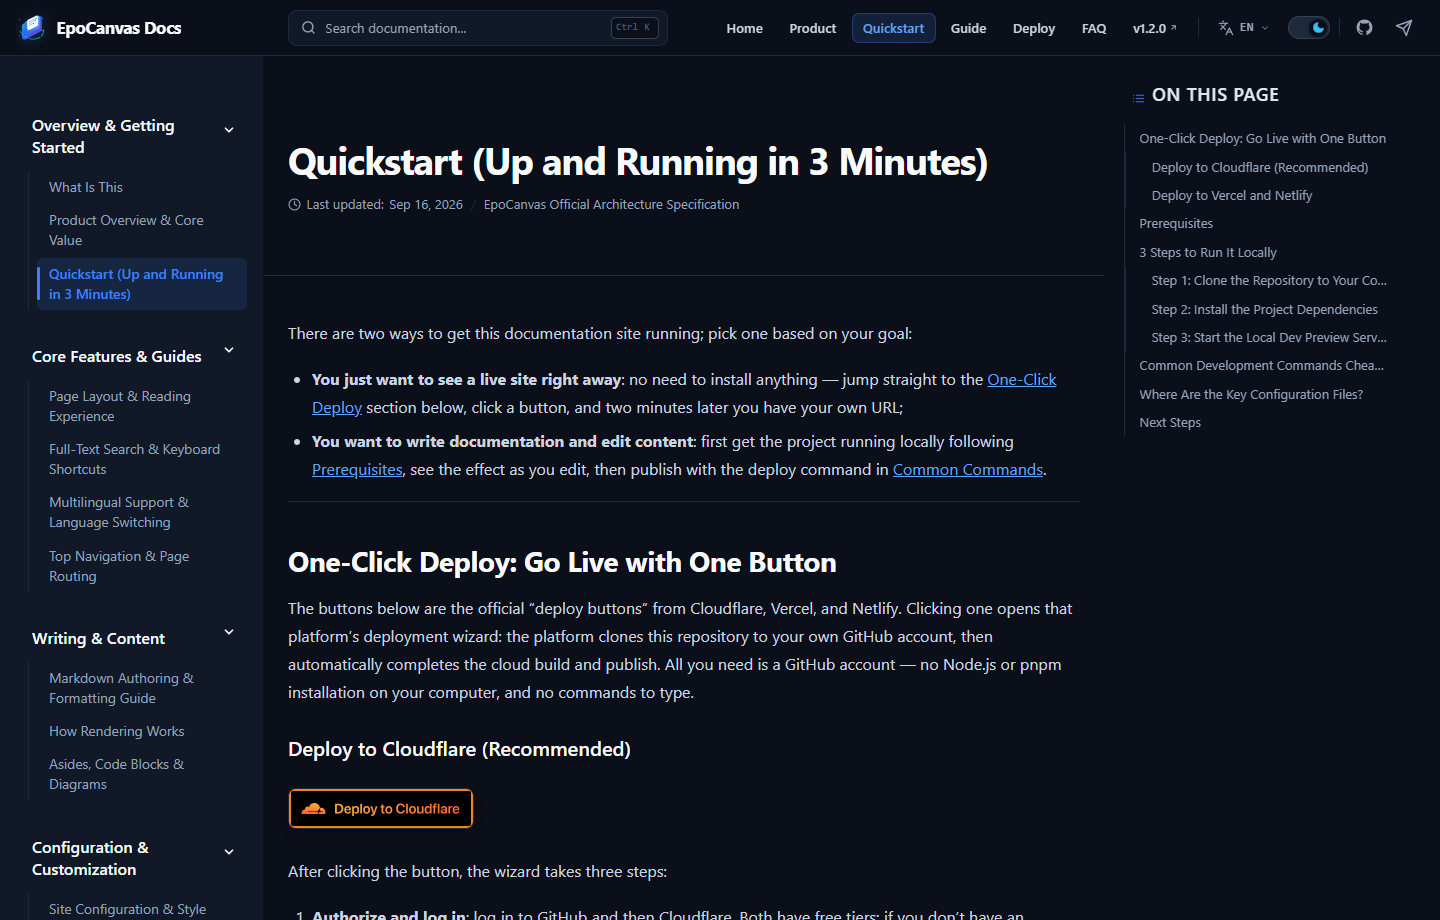
Figure: The actual rendering of http://localhost:4321/canvas/deployment/ — the very page you are reading now.
Common Development Commands Cheat Sheet
When writing documentation or maintaining the project day to day, these are the main commands you will use:
| Command | When to use | Details |
|---|---|---|
pnpm run dev | Day-to-day writing | Starts the local dev server with hot module replacement (HMR). After editing any .md file, the browser refreshes automatically to show the updated content. |
pnpm run build | Build test | Compiles the full site’s static pages locally and generates HTML, CSS, and the Pagefind search index in the dist/ directory. |
pnpm run preview | Preview the build output | Starts a lightweight local web server to serve the dist/ output, used to check that links and styles are correct before the official release. |
pnpm run deploy | One-click publish | Runs build automatically first, then uses the Wrangler tool to push dist/ to the live Cloudflare Pages production environment. |
For the full publishing steps and how to verify the result online, read Deploying to Cloudflare Pages.
Where Are the Key Configuration Files?
To change the site’s basic information, focus on the following files:
- Site name and TOC menu: edit
astro.config.mjsin the root. You can change the site’stitle(site title),site(live domain), andsidebar(left-side TOC menu). - Top navigation bar buttons: edit
src/config/navigation.ts. Here you can add or remove top buttons such as “Home” and “Product” and their link targets. - Page colors and font styles: edit
src/styles/custom.css. Here you can adjust the theme colors for light and dark mode. - Adding new documents: create a new
.mdfile directly in thesrc/content/docs/canvas/directory and register it in the sidebar; see Markdown Authoring & Formatting Guide for details.
Next Steps
Once the local server is running successfully, you can continue with:
- Page Layout & Reading Experience: layout details of the top bar, sidebar, and content interface.
- How Rendering Works: understand how Markdown becomes the final page and avoid formatting syntax pitfalls.
- Deploying to Cloudflare Pages: publish the documentation to the public internet and bind a custom domain.